這裡要說明如何在前端顯示檔案路徑,開發環境是在Webpack,可以參考[Vue.js教學筆記]Webpack模組整合工具之安裝來建立,並且參考
[Vue.js教學筆記]CKEditor套入Webpack模組整合工具
[Vue.js教學筆記]CKEditor套入Webpack模組整合工具-補充
[Vue.js教學筆記]CKFinder套入Webpack模組整合工具
[Vue.js教學筆記]CKFinder套入Webpack模組整合工具-補充
來建立CKEditor+CKFinder,並且去理解這兩套軟體安裝思路,有助於了解這篇內容
這篇用的CKFinder為v2.6.2.1,在[Vue.js教學筆記]CKFinder套入Webpack模組整合工具-補充有說明,
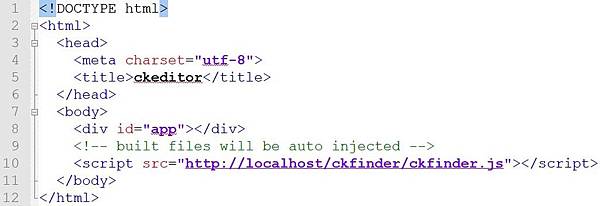
打開index.html,新增ckfinder.js的路徑,如下所示,
<!DOCTYPE html>
<html>
<head>
<meta charset="utf-8">
<title>ckeditor</title>
</head>
<body>
<div id="app"></div>
<!-- built files will be auto injected -->
<script src="http://localhost/ckfinder/ckfinder.js"></script>
</body>
</html>

打開\src\components\Hello.vue,重點要修改程式如下,主要是去抓取檔案路徑並顯示,
<template>
<div class="hello">
<div Id="updataPath"></div>
<el-button type="primary" @click="updata('updataPath')">選擇</el-button>
</div>
</template>
<script src="http://localhost/ckfinder/ckfinder.js"></script>
<script>
export default {
name: 'hello',
data () {
return {
}
},
methods: {
updata(elementId){
let output='';
var finder = new CKFinder();
finder.selectActionFunction = function(fileUrl, data) {
output = document.getElementById(elementId);
output.innerHTML = fileUrl;
};
finder.popup();
}
}
}
</script>
<!-- Add "scoped" attribute to limit CSS to this component only -->
<style scoped>
</style>

由於在執行Webpack時的port為8080,而XAMPP中的Apache的port為80,要在同一個port底下才能順利執行
執行指令
npm run build
產生發佈檔, 將dist資料夾底下檔案static與index.html複製到與CKEditor,CKFinder這兩個資料夾相同位置

利用XAMMP來執行,如下所示,

點擊選擇會出現檔案選擇視窗,如下所示,

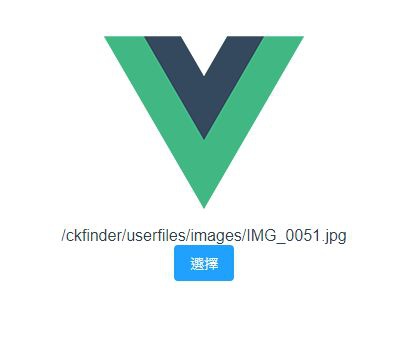
點擊圖中圖片,就可將此圖片路徑顯示在前端,如下所示,


 留言列表
留言列表
