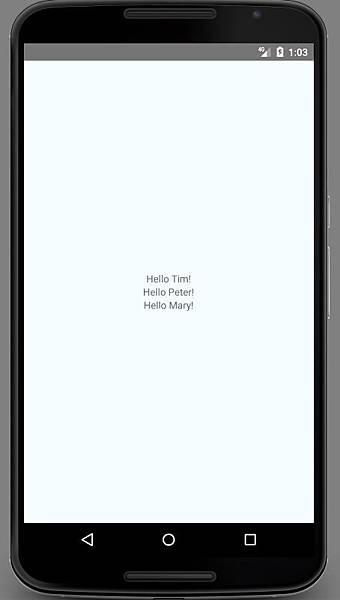
自定義組件使用props,製作一個可以在應用程式之不同位置使用的組件,每個組件的屬性略有不同,這裡只演示this.props在render的功能,
接下來修改在[筆記]安裝React-Native與創造第一個專案,所創造的專案來演示此功能

首先來看以下這段程式,this.props.name中的name作為HelloGet組件屬性使用,這就代表只要使用<HelloGet name='顯示文字'/>,name屬性的參數就會在HelloGet組件下使用,下段程式是使用HelloGet組件的範例,
class HelloGet extends Component {
render() {
return (
<Text>Hello {this.props.name}!</Text>
);
}
}
export default class AwesomeProject extends Component {
render() {
return (
<View style={styles.container}>
<HelloGet name='Tim'/>
<HelloGet name='Peter'/>
<HelloGet name='Mary'/>
</View>
);
}
}
在Node.js command prompt執行"react-native run-android",即可安裝在模擬器或手機上演示,


 留言列表
留言列表
