為了能夠在CKEditor文字編輯器上方便上傳Files,Images與Flash檔,就要套用CKFinder這工具,在Webpack上套用CKFinder步驟有點多,請仔細按照步驟操作,
Step One :
請按照[Vue.js教學筆記]CKEditor套入Webpack模組整合工具,來創造CKEditor文字編輯器
Step Two :
至CKFinder載點位置進行下載,網址如下,進入網站後拉到最下方會看到以下畫面,點擊"Download",

下載PHP version即可,

下載完成解壓縮即可,如下所示,

Step Three :
設定與修改CKFinder,首先打開/ckfinder/config.php進行配置,在第28行以下程式,
$config['authentication'] = function () {
return false;
};
將return false;改成return true;,這樣就啟動CKFinder這套件啦
$config['authentication'] = function () {
//return false;
return true;
};

在第80行下可看到此配置能上傳Files,Images,但沒有Flash,所以必須在下面增加以下程式,
$config['resourceTypes'][] = array(
'name' => 'Flash',
'directory' => 'flash',
'maxSize' => 0,
'allowedExtensions' => 'fla,swf,swt,swc,flv',
'deniedExtensions' => '',
'backend' => 'default'
);

Step Four :
如果有先按照[Vue.js教學筆記]CKEditor套入Webpack模組整合工具創造CKEditor文字編輯器,裡頭有在XAMPP這軟體,將CKFinder放置XAMPP中的htdocs文件夾中,利用XAMPP中的Apache功能來啟動,下圖是在htdocs中創造webpackCKEditor資料夾來進行存放,注意要與CKEditor放在同一資料夾中,這樣才能完成CKEditor + CKFinder的結合

Step Five :
在\ckeditor-project\index.html中,新增<script src="http://localhost/ckfinder/ckfinder.js"></script>,

接下來在\ckeditor-project\src\components\Hello.vue,在config下新增
filebrowserBrowseUrl: 'http://localhost/ckfinder/ckfinder.html',
filebrowserImageBrowseUrl: 'http://localhost/ckfinder/ckfinder.html?type=Images',
filebrowserFlashBrowseUrl: 'http://localhost/ckfinder/ckfinder.html?type=Flash',
filebrowserUploadUrl: 'http://localhost/ckfinder/core/connector/php/connector.php?command=QuickUpload&type=Files',
filebrowserImageUploadUrl: 'http://localhost/ckfinder/core/connector/php/connector.php?command=QuickUpload&type=Images',
filebrowserFlashUploadUrl: 'http://localhost/ckfinder/core/connector/php/connector.php?command=QuickUpload&type=Flash',
filebrowserWindowWidth: '1000',
filebrowserWindowHeight: '700'

Step Six :
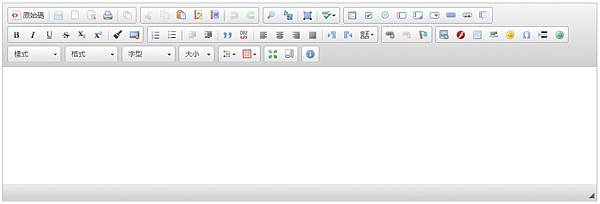
以上修改完畢後,先開啟XAMPP中的Apache功能,讓CKEditor與CKFinder能夠執行,在node指令區輸入"npm run dev"執行會出現以下畫面,
點擊圖像圖示,

會出現瀏覽伺服器按鈕

點擊後會跳出視窗,此時會發現視窗中沒有任何畫面,這是因為在執行Webpack時的port為8080,而XAMPP中的Apache的port為80,要在同一個port底下才能順利執行
Step Seven :
接下來執行"npm run build"產生發佈檔,將dist資料夾底下檔案static與index.html複製至/xampp/htdocs/webpackCKEditor裡,如下所示,

重新開啟XAMPP中的Apache功能,出現以下畫面,

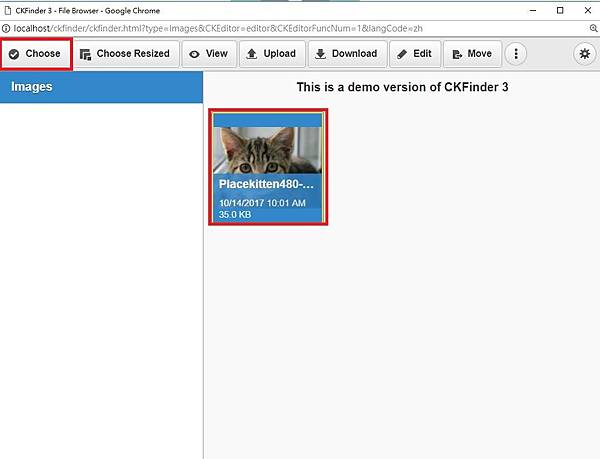
在點擊圖像圖示->瀏覽伺服器按鈕後,跳出視窗就會出現Images上傳操作介面,如下所示,

點擊上方Upload,上傳一張圖片

上傳成功會顯示在此操作介面上,

再來點擊圖片,出現"Choose"點擊後

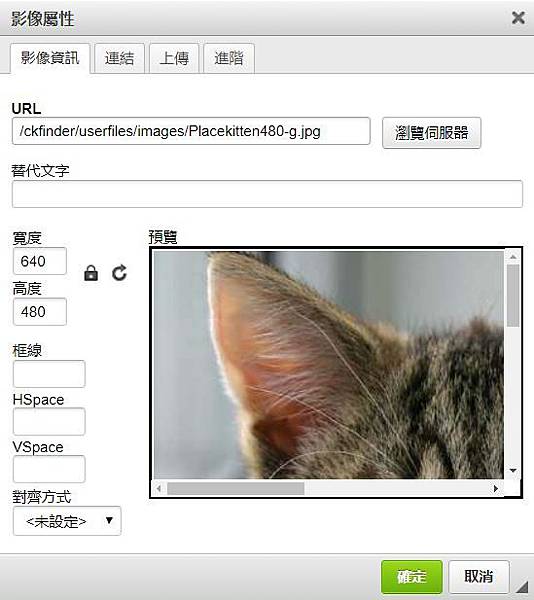
圖片就會套入此操作視窗,按下確定

此圖片就會出現在CKEditor文字編輯器上了

Step Eight :
此圖片存放位置在/ckfinder/userfiles/images裡

上一層/ckfinder/userfiles資料夾內容如下,

接下來可以試著上傳Files與Flash檔


 留言列表
留言列表
